As a technical writer, I often work with different operating systems and environments to test applications. It would be a nuisance if I needed a separate machine for every test case. Happily, it’s possible to run multiple operating systems on a single machine.
In this tutorial, I’ll explain how to create a Linux virtual machine (VM) on an Apple Silicon Mac using UTM (which stands for Universal Turing Machine). UTM is free, open-source virtualisation software that’s specifically designed for macOS.
I previously used VirtualBox, which stopped working a couple of years ago. Although there’s a developer preview of an updated version, it’s not production-ready and I couldn’t get it to work for me. UTM is built specifically for macOS and uses Apple’s own Virtualization framework.
To follow this tutorial, you’ll need:
- A Mac with Apple Silicon (M1, M2, or M3 chip).
- At least 70GB of free disk space.
- A stable internet connection for downloads.
By the end, you’ll have a Linux VM that you can quickly spin up in moments.
Step 1: Install UTM
You can install UTM in two ways:
- Free from the UTM website at https://mac.getutm.app/.
- From the Mac App Store for $10 - this version is identical to the free version, but purchasing it supports the developers and provides automatic updates.
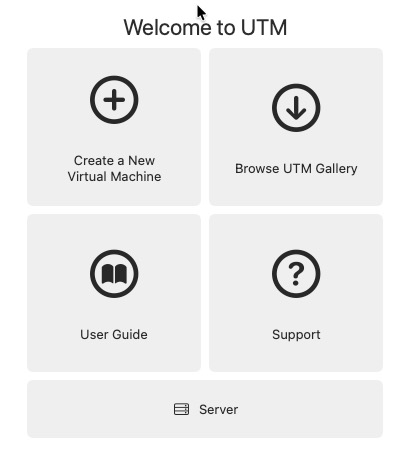
When you first open UTM, you’ll see a welcome screen with options to create virtual machines.
Step 2: Download Ubuntu Server ARM
For best performance on Apple Silicon, you need an ARM-based Linux distribution. For this tutorial, I’m using Ubuntu Server ARM, which runs at near-native speed on M2 Macs.
Go to https://ubuntu.com/download/server/arm and download the latest LTS (Long Term Support) version. The file is approximately 3GB, so the download may take a few minutes depending on your internet connection.
Keep the downloaded ISO file somewhere accessible, as you’ll need it in the next step.
Step 3: Create a Virtual Machine
With UTM open, click the "+" button to create a new virtual machine.
You’ll see two options: Virtualize or Emulate. Choose Virtualize - this uses Apple’s framework for better performance with ARM-based systems.
Choose Your Operating System
On the next screen, select Linux from the available options.
Configure Hardware
UTM asks you to allocate resources for your VM:
- Memory: 4096 MB (4GB) is adequate for Ubuntu Server.
- CPU Cores: Leave on “Default” - UTM allocates appropriately.
- Display Output: Keep “Enable display output” checked, but leave “Enable hardware OpenGL acceleration” unchecked (it has known issues with some Linux drivers).
Click Continue.
Configure Boot Settings
On the Linux configuration screen:
- Virtualization Engine: Leave “Use Apple Virtualization” unchecked - while it offers better performance, it’s still experimental for Linux and the default QEMU engine is more stable.
- Boot Image Type: Keep “Boot from ISO image” selected.
- Boot ISO Image: Click Browse and select the Ubuntu Server ARM ISO you downloaded earlier.
Click Continue.
Set Storage Size
Choose how much disk space to allocate. The default is 64GB, which provides comfortable room for Ubuntu and applications. You can adjust this based on your needs:
- 32GB = minimal but workable.
- 64GB = comfortable (recommended).
- More = if you have plenty of Mac storage available.
Click Continue.
Shared Directory (Optional)
UTM can share folders between your Mac and the VM. For now, skip this by clicking Continue without selecting a directory. You can configure this later, if needed.
Review and Save
You’ll see a summary of your VM configuration. You can change the name from “Linux” to something more descriptive if you like (such as “Ubuntu-Server”).
Review the settings:
- Engine: QEMU
- Architecture: ARM64 (aarch64)
- RAM: 4GB
- Storage: 64GB
- Operating System: Linux
Click Save.
Step 4: Install Ubuntu
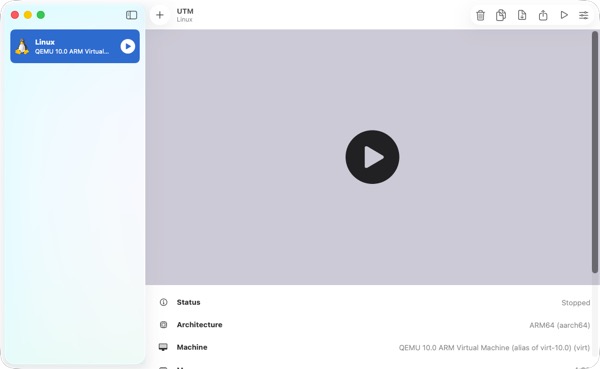
Your new VM appears in the UTM sidebar. Click the play button ▶️ to start it.
The VM boots from your downloaded Ubuntu ISO and launches the installer. You’ll be guided through several configuration screens, including:
- Language and keyboard layout
- Network configuration
- Storage configuration - Choose “Use an entire disk” (the default)
- User account setup - Create your username and password
For a basic test VM, you can accept the default options for most screens. Use the Tab key to navigate between options and then Enter to select.
The installation process takes several minutes as Ubuntu downloads and installs packages. Don’t worry if the VM appears to pause occasionally - this is normal during installation.
Eventually, you’ll see an Installation complete! banner. Tab down to Reboot Now at the bottom and press Enter.
You’ll then see a message saying “Failed unmounting cdrom.mount” and asking you to remove the installation medium. This is expected.
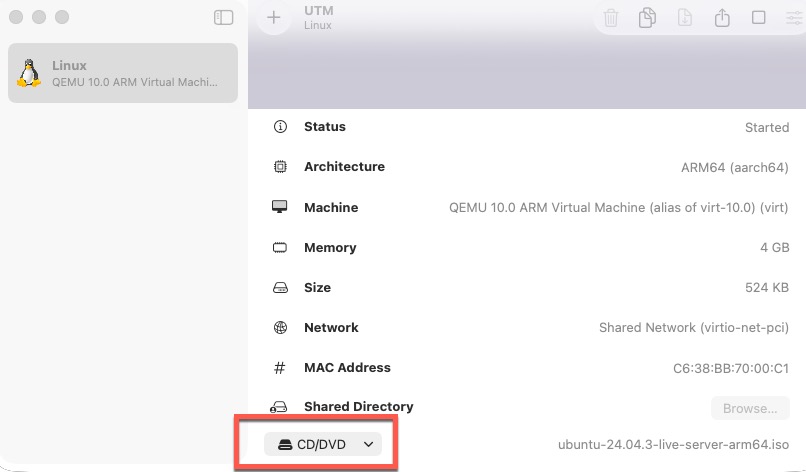
Remove the Installation ISO
- In UTM, scroll down until you see CD/DVD in the bottom left-hand corner.
- Click the arrow, then select Clear.
Now return to your Linux window and press Enter. This ensures your VM boots from the installed Ubuntu, rather than the ISO file.
Once you’ve ejected the ISO, press Enter in the VM window to complete the reboot.
Ubuntu restarts.
Step 5: Using Your Virtual Machine
When Ubuntu boots, you’ll see a login prompt. Enter the username and password you created during installation.
Once logged in, you’re in a fully functional Ubuntu Server environment. You can now run Linux commands, install software, and test applications.
Testing Your VM
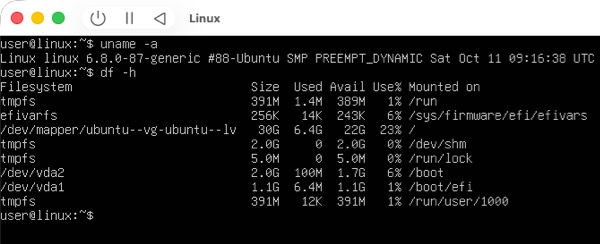
Try a few basic commands to verify everything works:
uname -a
This displays system information and confirms you’re running on ARM64 (aarch64) architecture.
df -h
This shows your disk space - you should see your 64GB virtual drive.
Shutting Down
When you’re finished working in the VM, shut it down gracefully:
sudo poweroff
Restarting Your VM
To start your VM again, simply click the play button next to its name in the UTM sidebar. Ubuntu boots to the login prompt, and all your files and configurations will be preserved.
Unlike the initial setup, subsequent starts are much faster as Ubuntu is already installed.
Conclusion
You’ve now created a fully functioning Linux virtual machine on your Apple Silicon Mac 🎉. UTM makes it simple to create, manage, and delete virtual machines without affecting your Mac. You can create multiple VMs for different purposes, each with its own configuration and resources. For more information and advanced configurations, visit the UTM documentation and community forums.
While UTM works excellently with ARM-based operating systems, it has some limitations:
- No GPU acceleration for graphics-intensive applications.
- x86/x64 emulation is available but runs slowly.
- Some enterprise features available in paid solutions like Parallels aren’t included.
For most development and testing purposes, however, UTM provides a powerful, free (or inexpensive) solution that works beautifully on Apple Silicon Macs.