It’s hard to get a sense of a big piece of writing, especially when Word keeps crashing. You’re scrolling endlessly, trying to hold thousands of words in your tired brain. You need to step away from the screen. In this blog post, I’ll explain how you can map your book or thesis. This technique helps you impose order on a baggy draft. Even better, it provides an excuse to buy stationery.
You will need:
- An empty wall or other large blank space.
- Lots of sticky notes.
- A marker pen (or preferably a lovely big set of Sharpies).
Step One
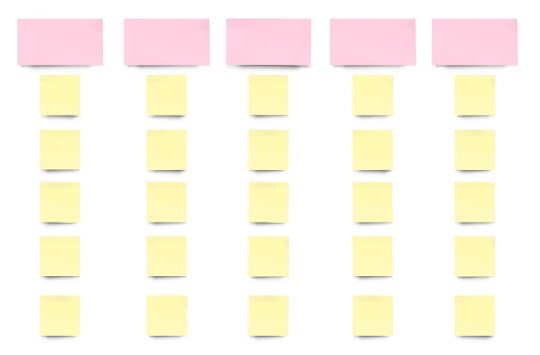
Write each of your chapter titles, not the numbers (and they might be working titles at this stage) on the some sticky notes and position them in a horizontal line at the top of your space.
Now use more sticky notes for jotting down the elements of each chapter – this might be subsections or key ideas – and arrange them vertically under each chapter heading.
Eventually, you’ll have a map of your book that you can see all at once.
Step Two
Now you can scan through and see what’s happening. Here’s what to look out for:
- Are the chapters proceeding in a logical sequence? If you need to reorder them, write the new numbers on some extra sticky notes and position them above the chapter titles.
- Do any of the chapter elements belong elsewhere? Flag them on the note.
- Can you spot any duplications across chapters? Make a note to delete the duplicated content and add a signpost or link (e.g. “As I discuss in chapter 2…”).
- Have you spotted any gaps that need to be filled, such as some context to link two sections?
- Is there anything that doesn’t fit? Are there diversions or digressions that might confuse the reader? Mark those with a red X.
Scan horizontally and vertically to check the map makes sense from all directions — remember, your reader won’t necessarily progress in a linear way from start to finish. Keep your book proposal or thesis plan in front of you, too. Have you followed the structure of your chapter outlines? If not, did you make a conscious decision to do it differently? Or has there been some scope creep? Don’t be tempted to address any of the smaller details at this stage — that comes later. For now, you’re getting the structure right, establishing the foundations of your writing project.
Step Three
When you’re happy with the map, you can begin moving those chapters and sections around in the manuscript. Before you get stuck in, make a copy of your unedited manuscript. Once you’ve started hacking away at your work, you won’t remember what it looked like originally. Add comments for yourself on the original version to flag where you’ve made changes, e.g. “I’ve moved this section to the beginning of chapter two.” This helps you keep track of what you’ve done and it’s vital if you need to unravel any of your changes. If you’re juggling too many files on the screen, you could use a printed copy for documenting changes.
Conclusion
You might want to carry out this activity over a couple of days. If you have the space, it’s a good idea to leave the map at least overnight. Then you have a bit more perspective when you return to take another look. If you want to experiment with different versions, you can take photos or recreate them with a digital tool, like Trello.
Once you have a good map, both you and your reader will have a clearer sense of direction.